Creating a gallery wall of family photos is one of our favorite things to do — and it’s also one of our most requested tasks by new clients. There are a few important steps to make sure that everyone involved is happy with the final product.
The first step is to choose images. We usually ask our client to come up with twice as many photos as we will actually need. It helps us to edit down, with room to discard blurry images, and to be sure that they can be enlarged if necessary. We typically advise using an image no smaller than 8×10, not including a mat. We collaborate with the client to finalize the images and to choose an overall look — black and white images, all white wood frames, an eclectic look? Each decision affects how the overall grouping will look.
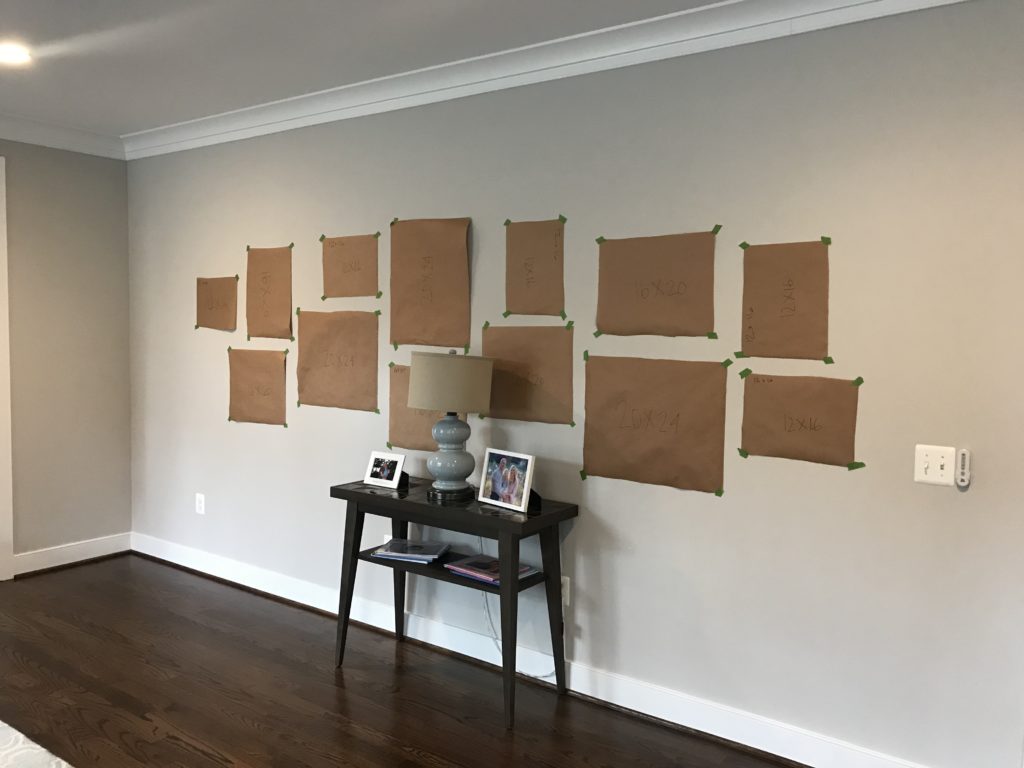
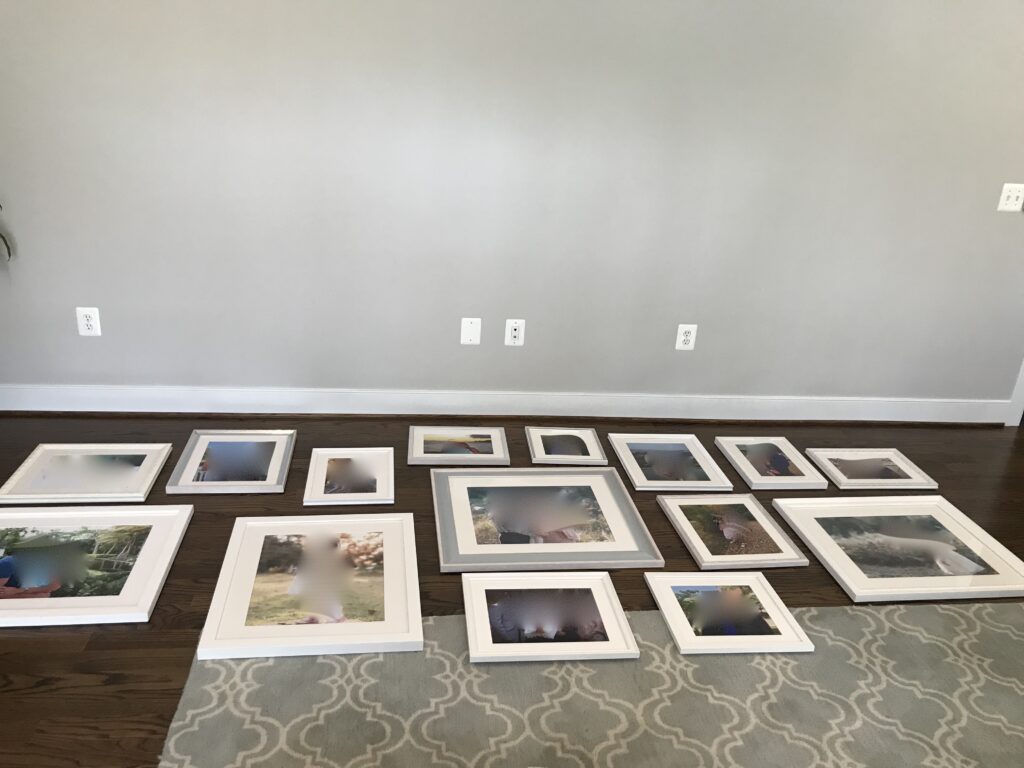
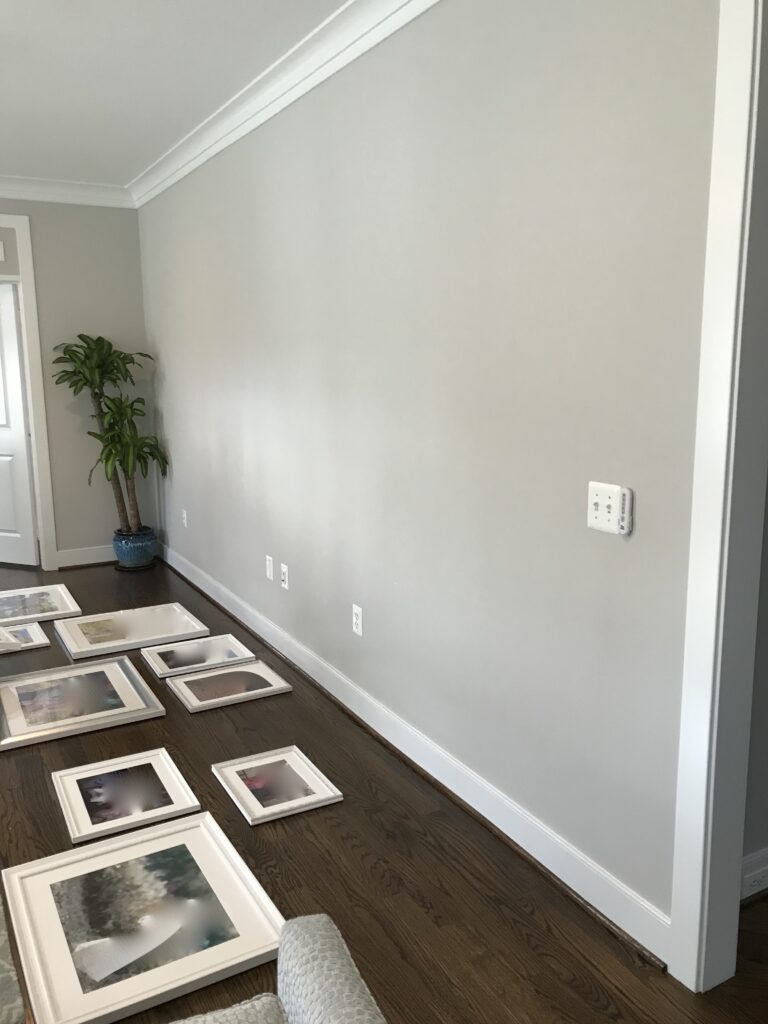
Once the size and number of items is finalized, it’s helpful to show the client how we would group the framed pieces on the wall in question. Things can be moved around at this point, and we can discuss how closely we’d like to arrange them. We take a photo of this arrangement for reference. At that point, we order the prints and the frames.
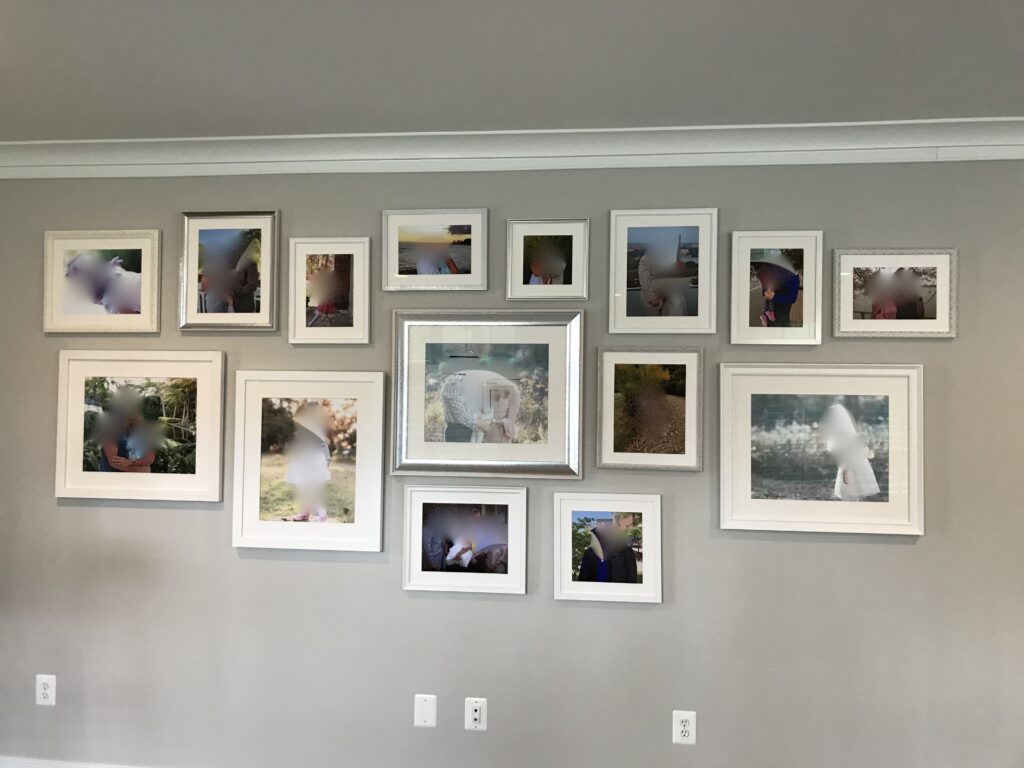
On install day, we review the photo of how we’d planned to arrange. Sometimes, they are installed exactly that way. Other times, we make a few adjustments. Either way, it’s helpful to have a good plan going in!
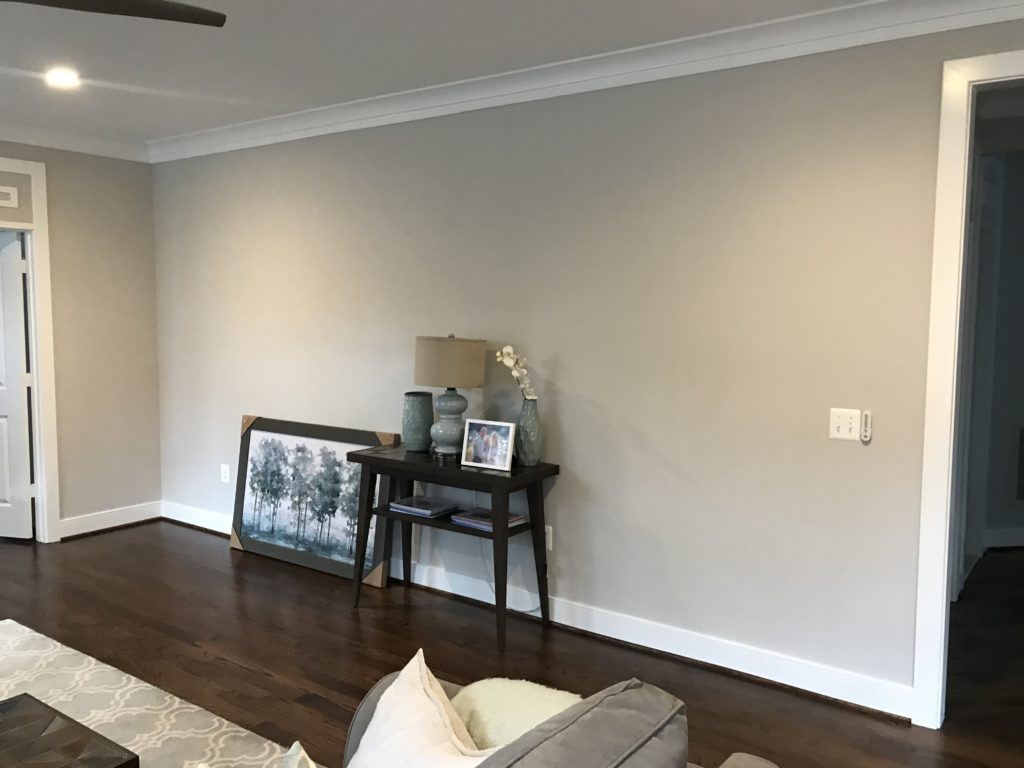
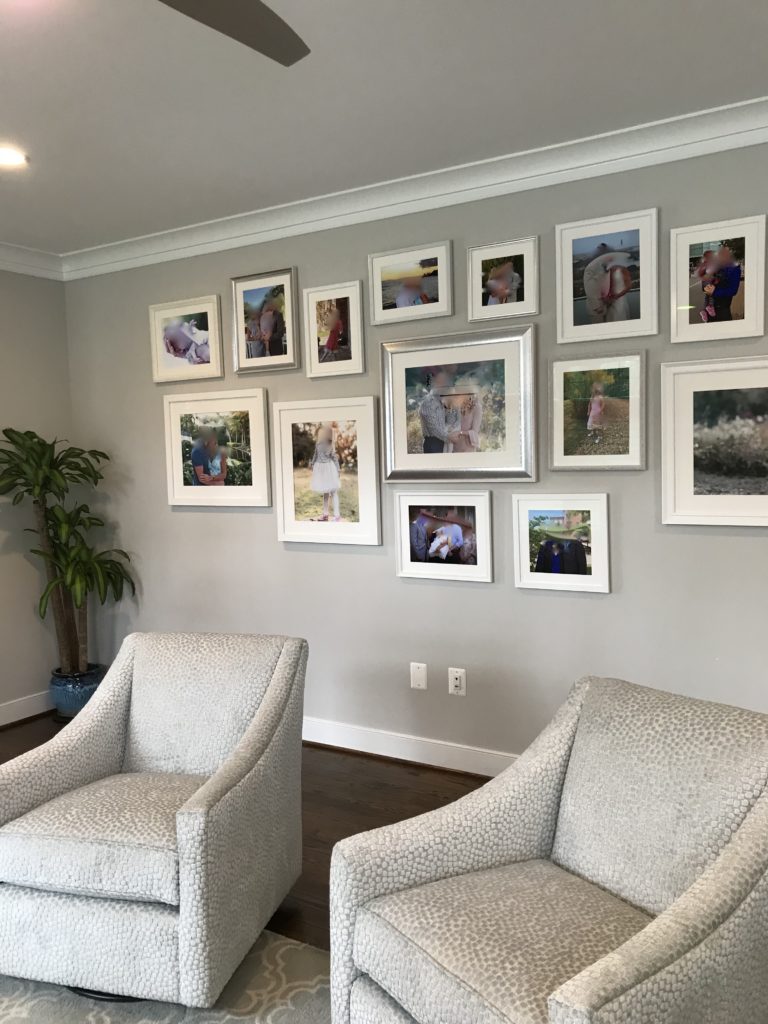
Here’s the final product, and also a photo of the wall in its original state.
